The Essential Parts of Your Roof — A DIY Inspection Guide
When you choose to inspect your roof yourself, rather than hiring a professional roofing contractor to come and do the job for you, you will need to make sure that you’ve got everything covered. There are areas of your roof on which damage and necessary repair work will be obvious — damaged tiles or leaking guttering, for example; but there are also times when the damage of general wear n’ tear is not going to be obvious. If you're not keeping your eyes peeled for the signs and checking things over to a professional standard, there’s a chance that you’ll miss one or two danger zones that could go on to present larger and more expensive problems.

THE CLADDING
This is the material that you can see when you look up at your roof — wood shingles or shakes, metal tiles, composite or asphalt shingles, slate, etc. Different cladding materials offer different properties, and you may find that certain ones are not suitable for all weathers. Wooden shakes and shingles, for example, can be quite hard work in areas where rainfall happens a lot.
When inspecting the cladding, you should keep your eyes open for damaged, broken or split shingles/tiles, as well as gaps where tiles have gone flying off, or areas where they look wobbly or not straight.
THE FASCIAS
This is the part that the guttering of your home will be attached to, following the horizontal edge of the roof structure itself. Fascias come in many different materials, but the most common is either plastic or metal. Underneath the fascias of your home, you will find the soffits.
THE SOFFITS
Again, when looking up at the roof, this will be the part you can see attaching the extending-out underside of the roof, from eaves to fascias. This areas needs to be well-ventilated, so you will find that some soffits have gaps in them to allow for the free flow of air.
THE GUTTERING
Also known as eavestroughs, the guttering helps to direct water away from the roof. If it wasn’t there, rainwater would simply drop down onto the people or ground below, allowing for floods and water damage in the home or building. Guttering can come in both plastic and metal varieties, both with their own advantages and disadvantages, and the main differences is price. Metal is more expensive than plastic, but is considered to be the long-term investment out of the two.
THE DOWNSPOUT
Part of the guttering is the downspout, and this is the section that carries water vertically from the roof down to ground level, and then out into a drain or similar. In some cases, the downspouts can allow for the release of water too close to the building itself, and this causes a build up of moisture and, in turn, water damage and leaks into the basement and ground floor of the building. Over time, this water damage can rise, and the building could fall prey to black mold.
THE FLASHING
One of the most common places to find flashing on your roof is around the chimney breast. Coming in a range of materials, usually made of metal, this is what keeps things nice and secure (as well as watertight) in areas where one structure meets another. In the case of the chimney, it will be the part where the actual breast stack meets the roof tile or material. You will also find flashing where two roof edges meet — the valley. This flashing is often called “valley flashing”.
THE VENTS
This could be a plumbing vent, an air conditioning vent, or something else similar. These are often targets for wild animals, especially the smaller species, but problems are easily solved. A cap or wired cover can stop leaves and animals getting inside and messing things up.
THE SHEATHING
This is the part of the roof that the cladding is affixed to. In the cases of laminated or asphalt shingles, they are glued to the sheathing. Slate tiles and shingles are nailed to the sheathing, and in both cases, the sheathing is solid, covers the entire roof, and leaves no gaps. With wooden shakes and shingles, however, the sheathing needs to have gaps to allow for air ventilation and drying after rain.
THE UNDERLAY
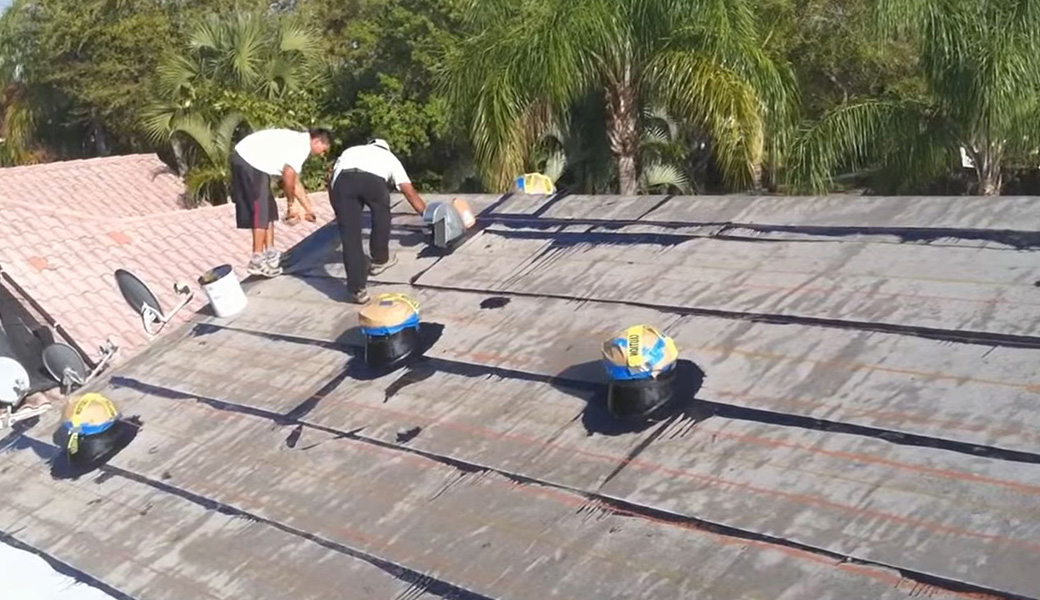
Also known as the underlay membrane, this is a fabric-like material, usually made from synthetic material, asphalt and/or felt. It sits between the sheathing and the cladding, forming another waterproofing layer that also protects the top material from the bottom. Wooden sheathing can release resin which can affect the top cladding material, but the underlay membrane helps to stop this from happening.
You may also find that you have “eaves membrane” on your building, which is usually an additional layer behind the eaves, as the name suggests.
There is a lot to take into consideration when you are inspecting your roof for damage, and you can’t forget about the risks involved with clambering around at such a great height. If you're in any doubt as to what you should be doing, why not give us a call? We can provide you with useful information over the phone, as well as booking you a fast-response home visit with a professional roof surveyor, if necessary.
Visit our Roof Contractor home page to learn more about us, or hire a local professional from over 100 USA locations.

